

Nothing says “I love you” like a homemade card!
Supplies:
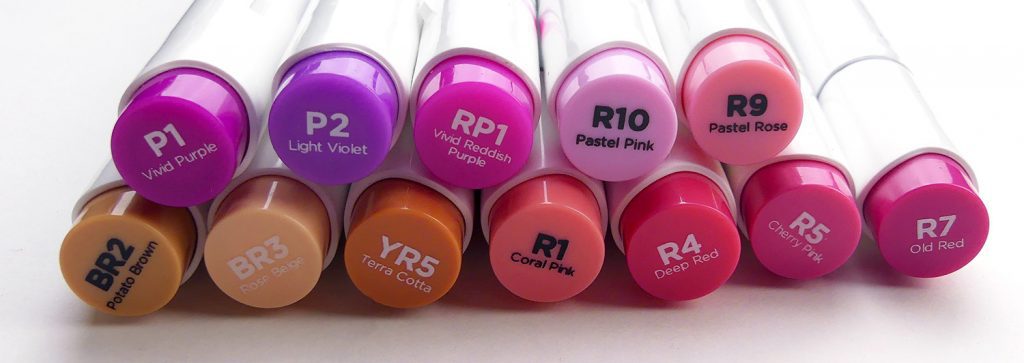
- Ohuhu Dual Brush Tip Alcohol Markers –
- Pinks & Reds: P1, P2, RP1, R1, R4, R5, R7, R9, R10
- Browns: BR2, BR3, YR5
Paper, pencil, eraser, fineliner, paint pen, stamping ink, letter stamps, brown cardstock, A5 card base, 3d foam squares, double-sided tape, scissors and dimensional paint (white and pink).

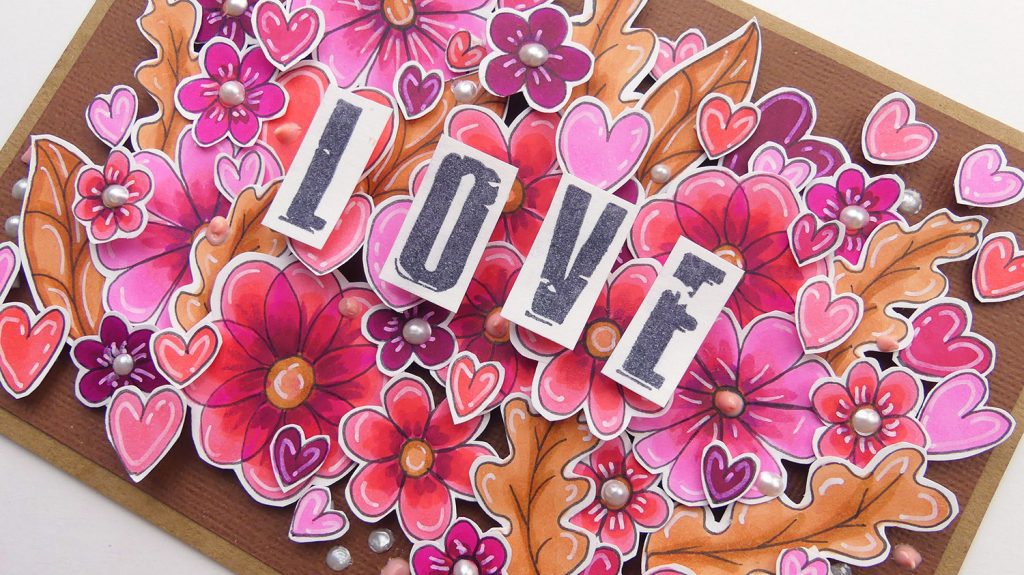
The first step is to sketch out all the elements if you have acrylic or rubber stamps you can also stamp out the objects you want to use on the card. The card today has a selection of flowers, leaves, and hearts. After sketching the next step is to trace over all the pencil lines with the fine liner.
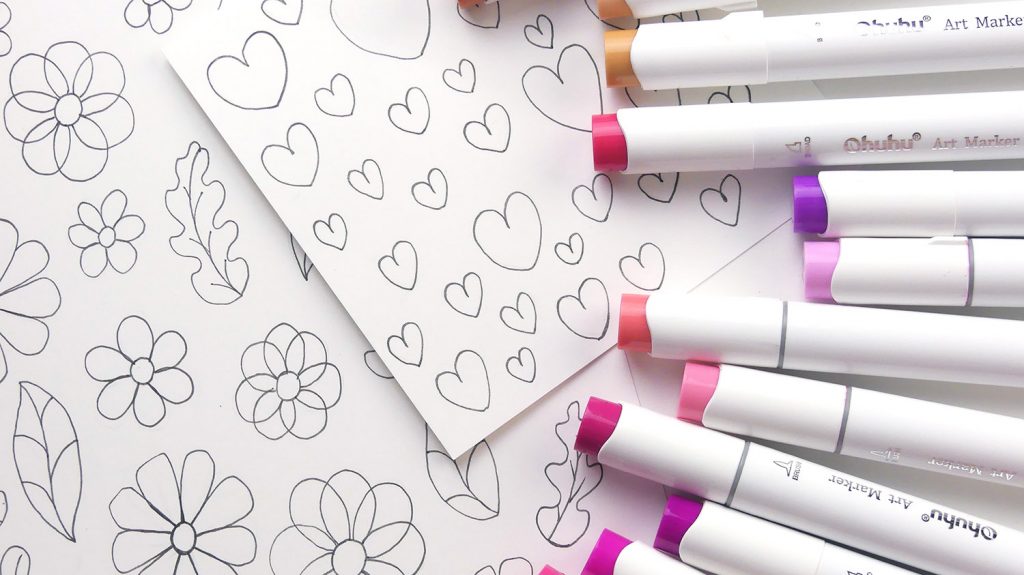
I then gathered together a selection of pinks, reds and a couple of brown Ohuhu brush markers to color in the elements. This card is easy to adjust to other occasions and color palettes so pick whatever colors you would like to use. All the hearts, flowers and leaves were simply colored in with a flat layer of color.
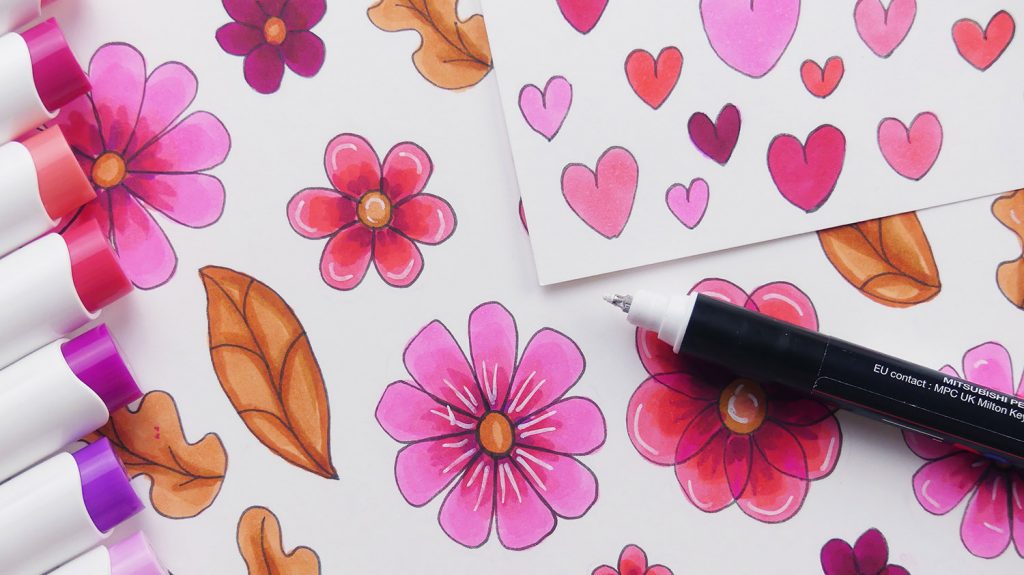
I also added some shadows and extra details into each flower and leaf by layering up the darker colors and using the brush tip of the Ohuhu markers to create flick lines coming out from the center of each flower and along the stem lines of the leaves.
Once the coloring was complete, I added a few highlights to all the elements using a white paint pen.
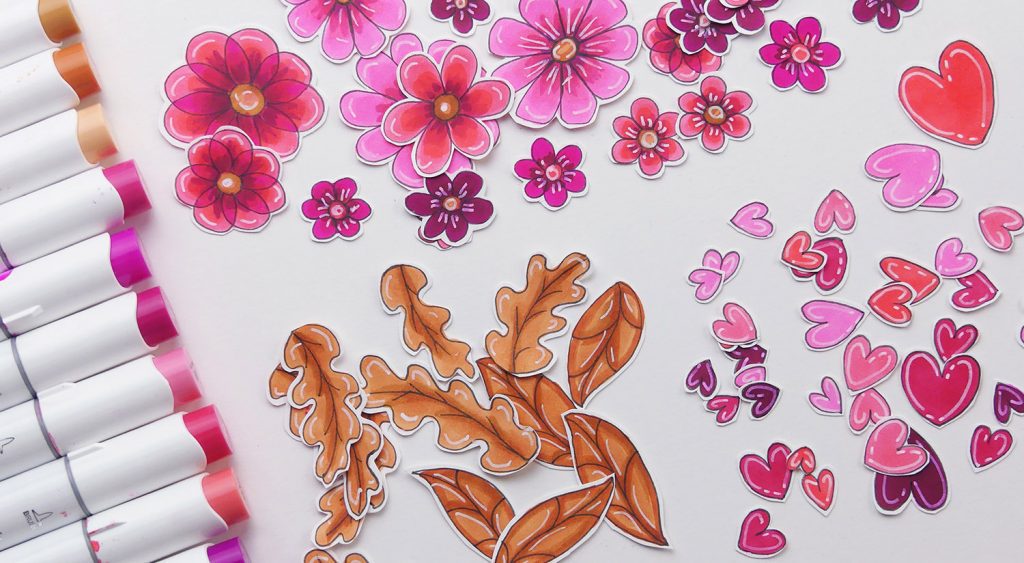
The next step was to cut everything out. This step takes a little while but will make the card look extra special in the end.
With everything cut out, it was now time to put the card together. I began with the card base and then added a background panel of brown card, cut a little bit smaller than the card base and attached it down with double-sided tape (you could also use glue).

I then added the elements to the card, using 3d foam squares to raise them up off the background. I added each element one at a time and scattered the cluster across the card.
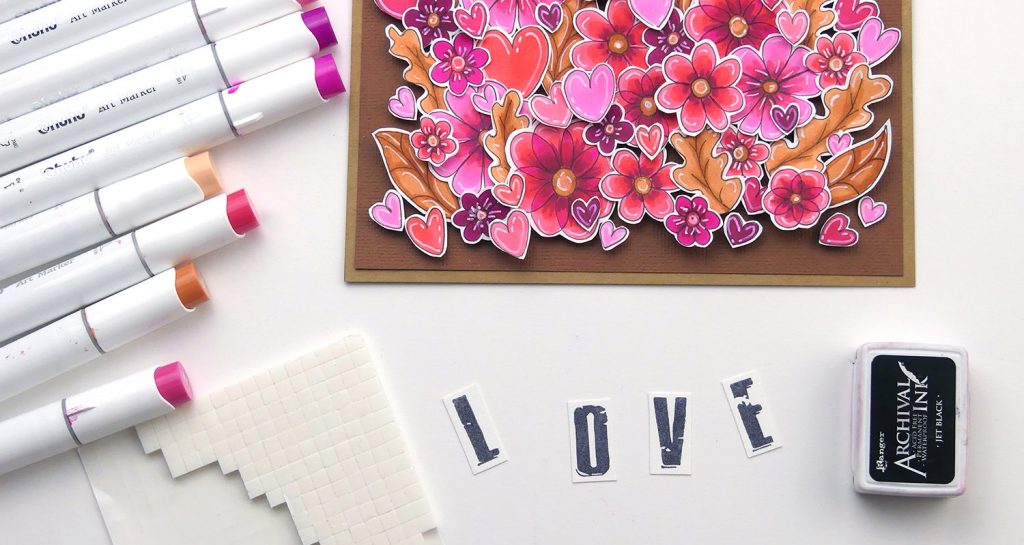
Next, I stamped out the word “love”, cut the letters out and added them to the front of the card. You could also handwrite a sentiment if you don’t have any alphabet stamps.
As a final step, I added a few drops of dimensional paint into the flower cluster and then the card was finished and ready to send to someone special for Valentine’s day.
This post is from Windy Iris.


